- /
- /
- /
Simple Sample Data and App
Sometimes it is easiest to get started using a very simple data set. In this walk-though we will use some very simple sample data to setup and configure the application.
1. Download and install the app. If you don’t have the app yet, you can sign up for a license!
2. Download the Simple Sample Data.
3. Open the Risk Frontier App from the Start Menu.
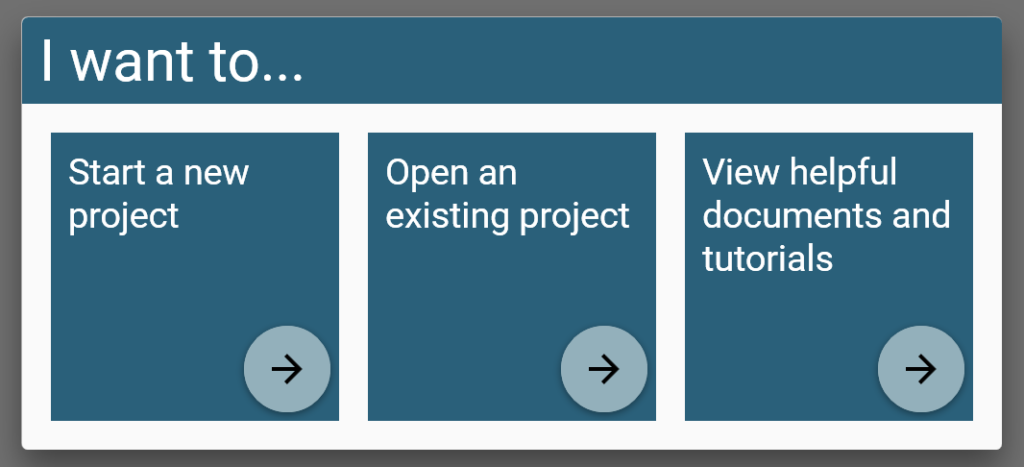
4. Click on “Start a new project.” This will allow you to create a new “.Risk” file. All of the data that you import and generate will be saved into this file. You can cut, copy, move or rename this file to duplicate the project as many times as you want. To re-open the file simply double click on it, or choose “Open an Existing project” from the start page, or click the Folder on the Home ribbon.
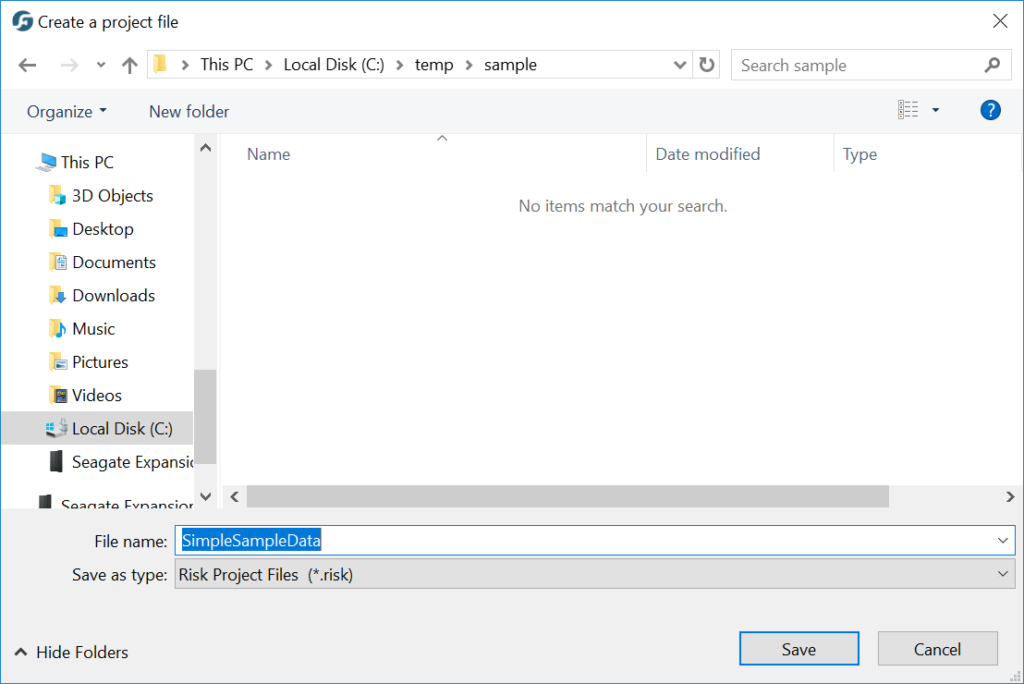
5. Give your new project a name and click “Save.”
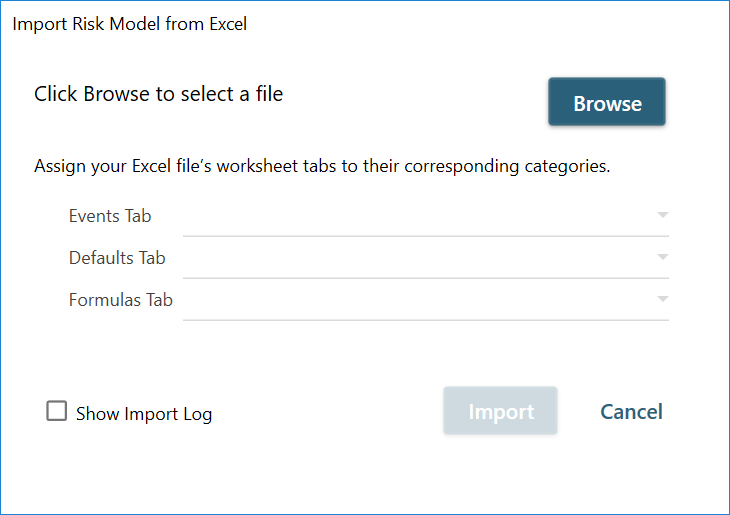
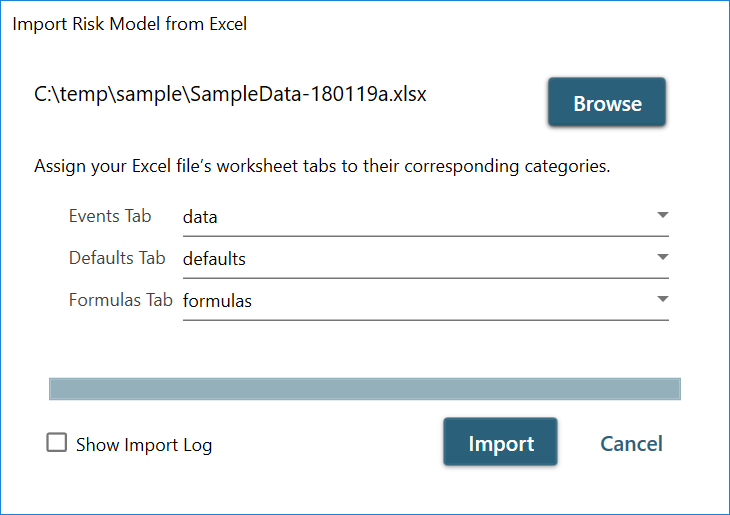
6. Next you are asked to import data from a Risk Assessment Engine File, an Excel (.xlsx or .xlsm) file. Click Brose to Select the Simple Data file that you downloaded earlier. Once you have selected it, the three tabs should auto populate, click Import.
7. This is VERY small data-set, and should finish the import quickly and then move onto computations. When loading larger data sets, the app provides status and progress bars to keep you up to date on the load and computation process. The app will complete several steps here:
1. Import data from Excel (Events, Defaults, Formulas).
2. Dynamically Segment the Event data
3. Compute all formulas for each row that is produced from the Dynamic Segmentation process
4. Produce a final output called "Risk Results" which only contains fields that were generated from formulas (no input data).
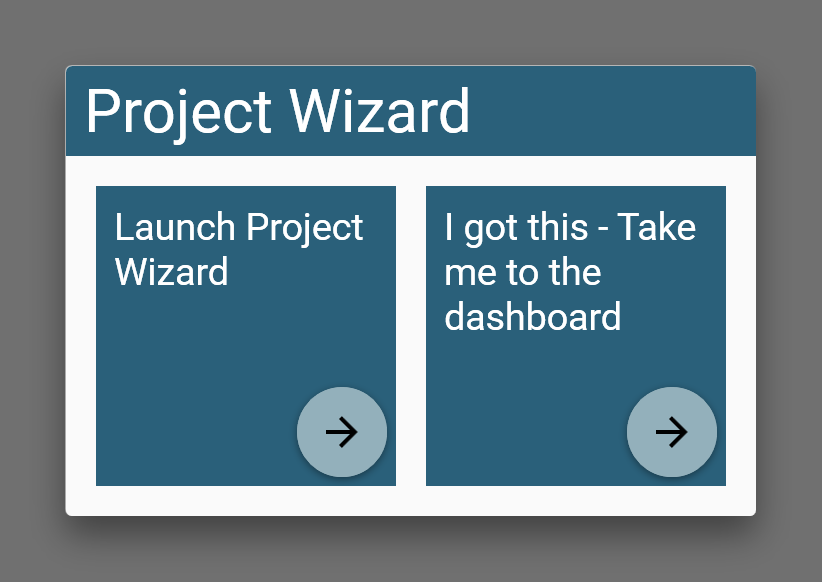
8. Once the import is complete you have two options: “Launch Project Wizard” and “I got this – Take me to the dashboard.” The Wizard will step you through a “standard” set of widgets to get you started quickly. That is what we will use. The “I got this” option will take you to a minimal dashboard where you can add widgets and configure the dashboard yourself. In either case, you can always add/remove widgets as often as you like. Click “Launch Project Wizard.”
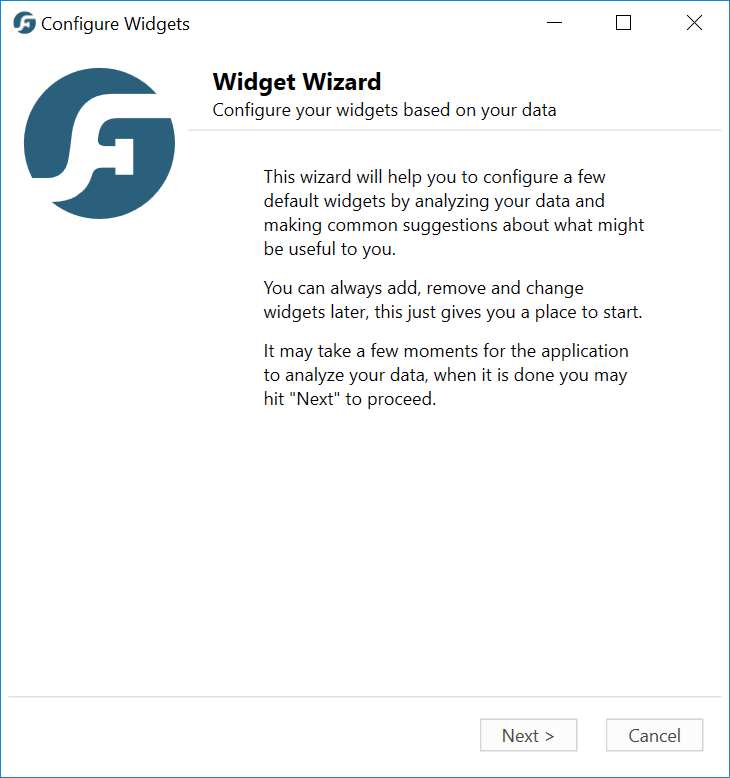
9. The first step of the Wizard allows the app to analyze your newly imported data to look for issues and what widgets might help you best. This is a simple process today, but will improve as more users make use of the Wizard. For large data-sets, this may take some time so be patient. Click “Next.”
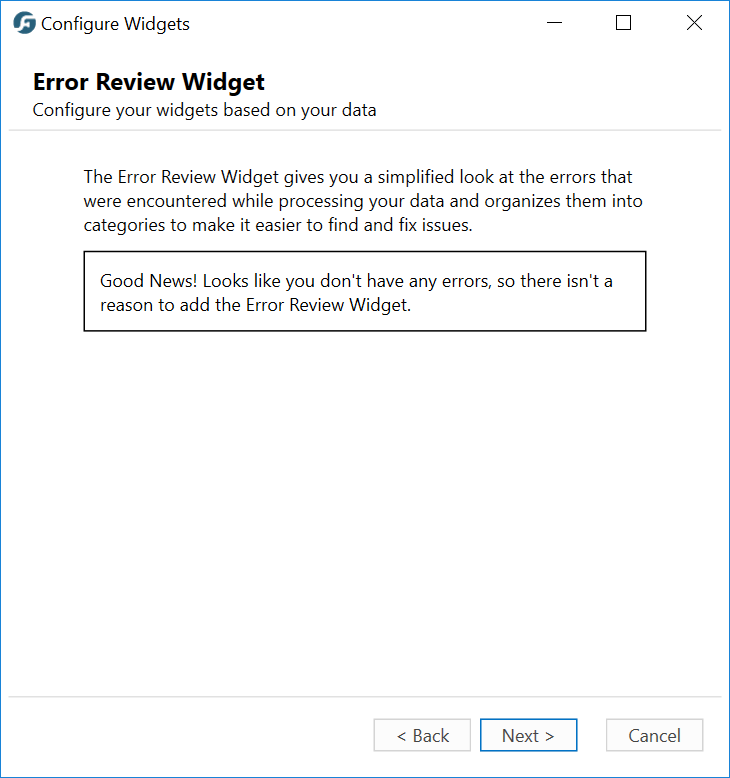
10. The Error Review Widget simplifies some of the most common errors that are encountered during the process. These errors can be tricky, sometimes they won’t hurt your computations and sometimes they will so always review and understand them! For our simple data-set there are no Errors, so no need to add the Error Review Widget, click “Next.”
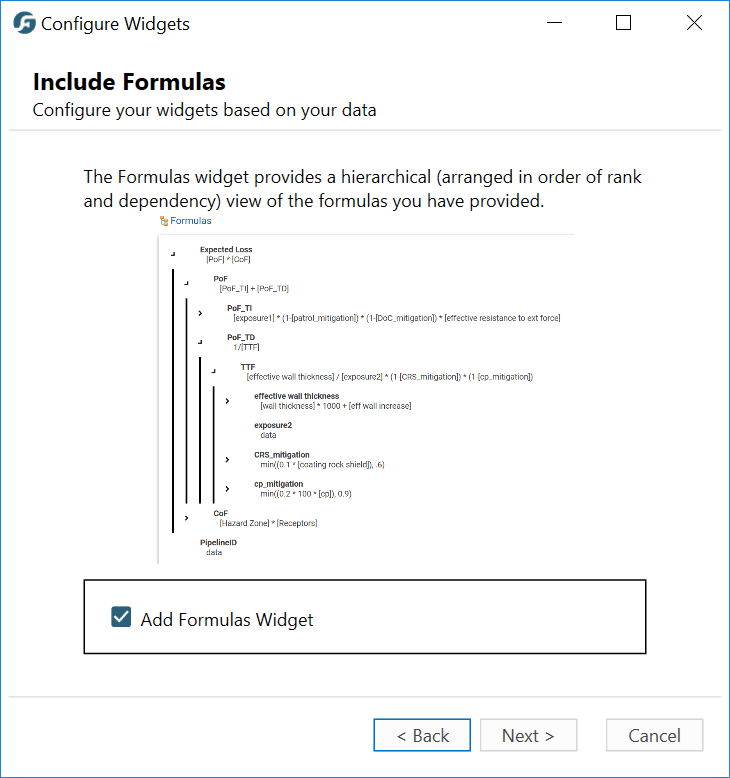
11. The Formulas Widget (or tree view) provides a hierarchical view of your formulas, it integrates with the table to show you specific calculations and with the histogram and line graph to quickly plot attributes. Click “Next.”
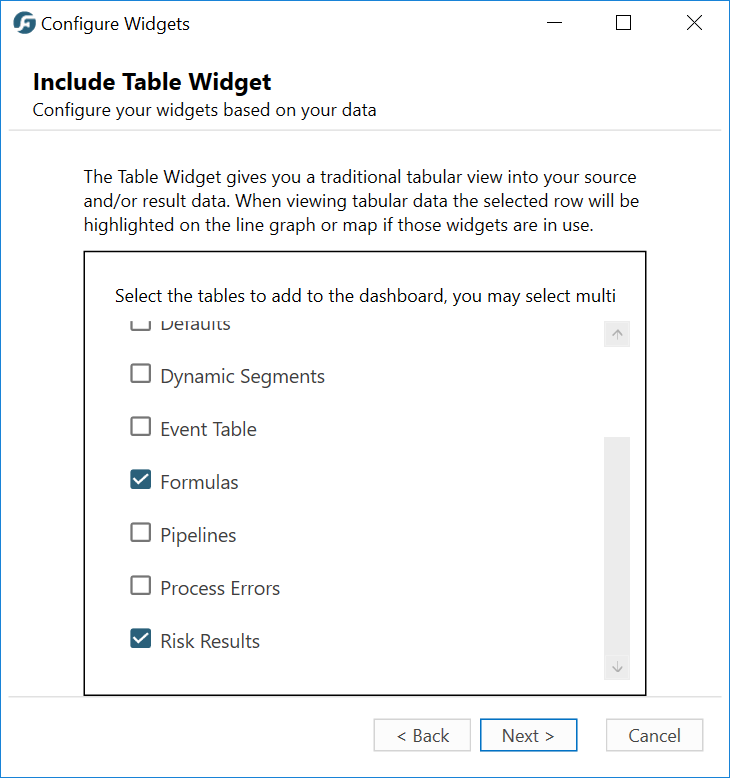
12. Tables – Everyone loves a good table, the app supports as many as you can handle! From the wizard you can add a few to get you started. Tables can be sorted, filtered, grouped by and even support simple statistics, have fun! Click “Next.”
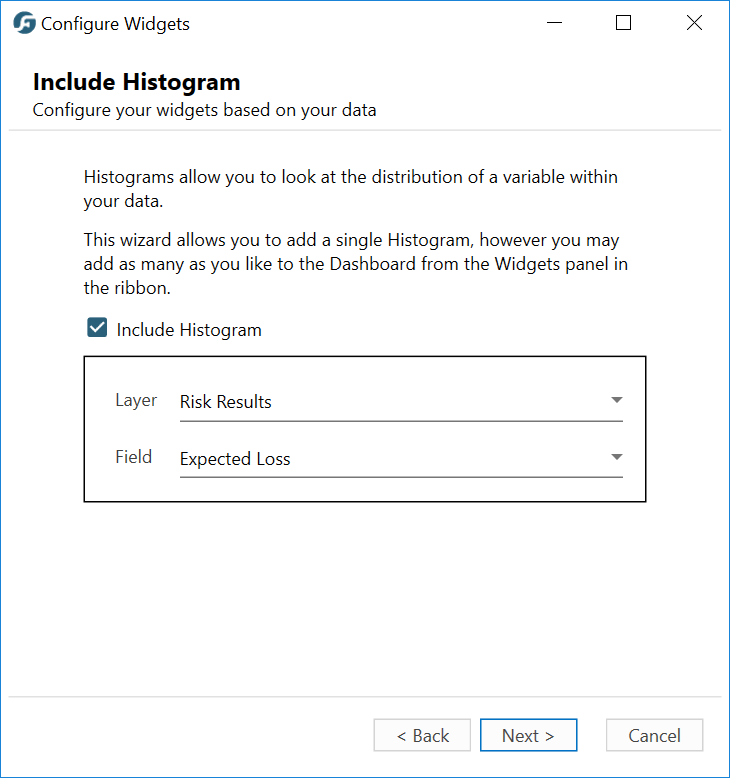
13. The histogram widget gives you a distribution of a specified attribute/field. The Histogram supports generating distributions via either “Sum of Lengths” or “Counts.” Click “Next.”
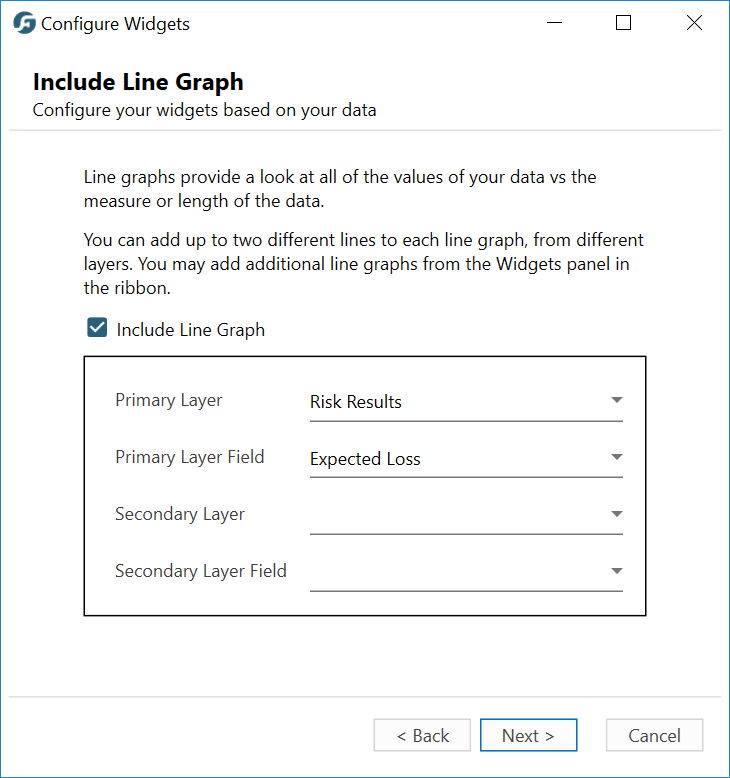
14. The Line Graph widget lets you plot one or two attributes against measure, giving you a view of how that attribute changes along your pipeline. Click “Next.”
15. Ready to Go! Click “Finish” to have the app build your widgets. It may take a few seconds to get everything in order.
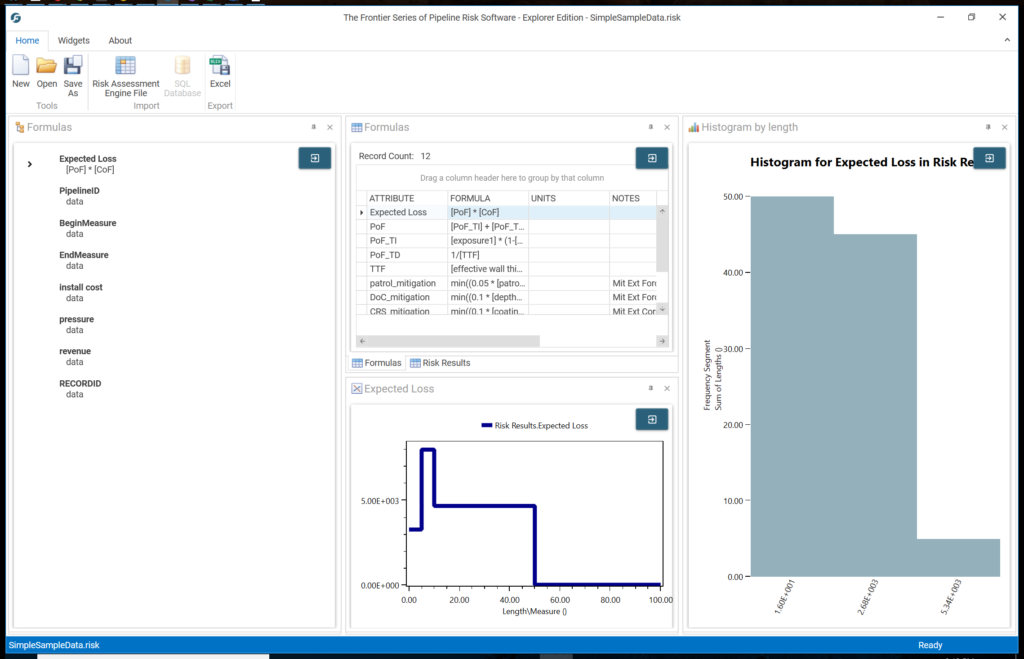
16. There you go, a simple dashboard. Check out our other Getting Started articles!